| d'Armond's Home | |
| Klingon | |
| Cozy Mark IV |
|
| Linguistics | |
| FTS |
Cozy Mark IV : Chapter 06
Assembling the Fuselage
In this chapter you assemble the fuselage by putting together the fuselage sides and the bulkheads, and then fabricating the fuselage bottom.
Pictures and commentary will go here as the work progresses. See also time and expenses related to this chapter.
- Step 1. Assembly of the Fuselage Sides
- Step 2. Center Keel and Seatback Brace
- Step 3. Contouring and Installing the Fuselage
Bottom
| Step 1. Assembly of the Fuselage Sides | |
| 6/17/04 Roy came over with his new (used) truck, and we went to Lowes to get the lumber for assembling the fuselage sides, plus some extra 2x4's for the saw horses. |
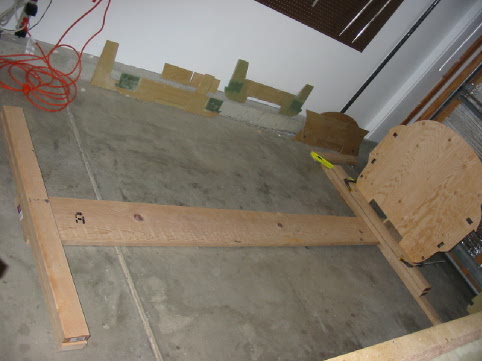 |
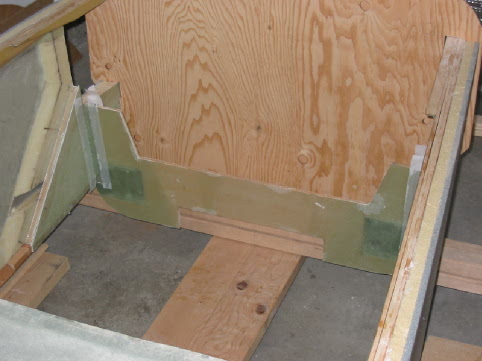
| 6/17/04 Temp. firewall secured in place. |
 |
| 6/17/04 Brace on the back side. |
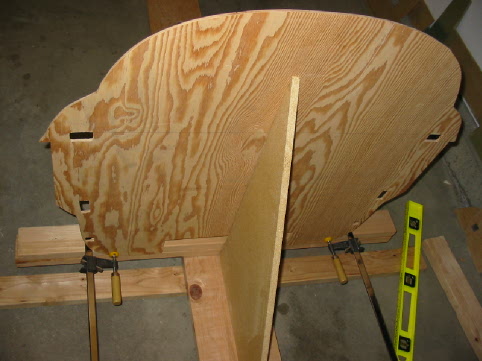 |
| 6/17/04 Everything's floxed in place and drying. I did the bit from the plans with the ropes and sticks, twisting the rope with small blocks of wood to get a tight fit with the fuselage sides. The bulkheads fit pretty well. The front seatback was nice and snug; the IP wasn't as snug, but a little extra flox filled the gaps nicely. |
 |
| 6/19/04 Everything's set up for me to start adding BID tape to the bulkheads... |
 |
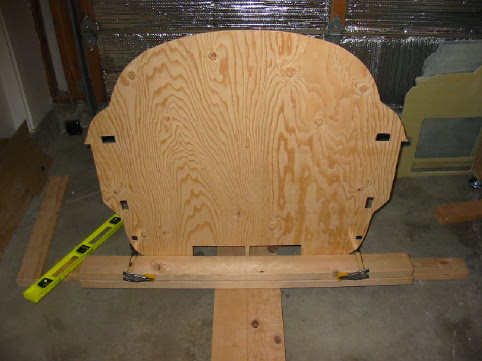
| 6/19/04 Here's a shot of the front seat back taped along the edge, and peel ply'd. |
 |
| 6/19/04 F22 taped in place. Next step is to add the reinforcement to F22. |
 |
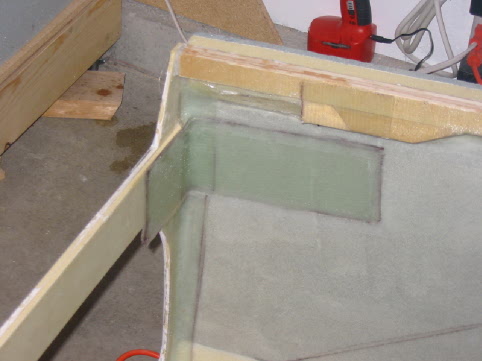
| 6/21/04 The reinforcement BID on F22. |
 |
| 6/22/04 Aft LG bulkhead in place and drying. |
 |
| 6/23/04 Installed the bottom part of the foreward LG bulkhead. |
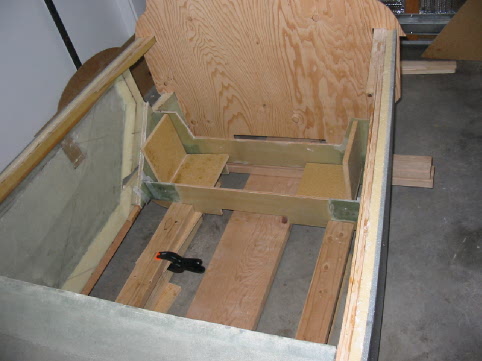 |
| 6/23/04 A closer look. The 8" squares are in place ready for drilling. |
 |
| 6/23/04 I also installed F28 today. |
 |
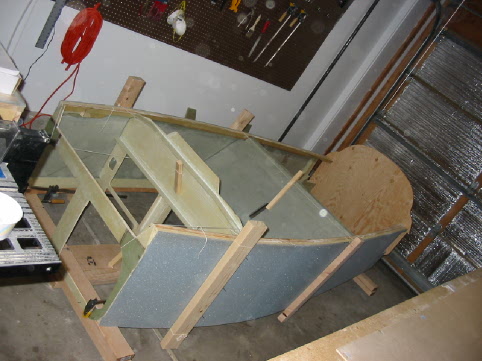
| 6/26/04 Amy helped me turn the fuselage upside-down and put it up on the sawhorses. |
 |
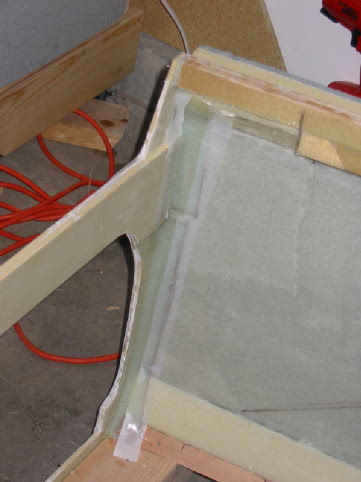
| 6/27/04 Added the 6-ply UND on the aft-side of the forward LG bulkhead, and the 2-ply BID tape on the seam. It's drying under the peel ply here. |
 |
| Step 2. Center Keel and Seatback Brace | |
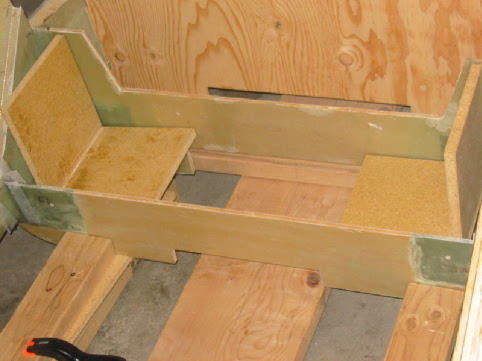
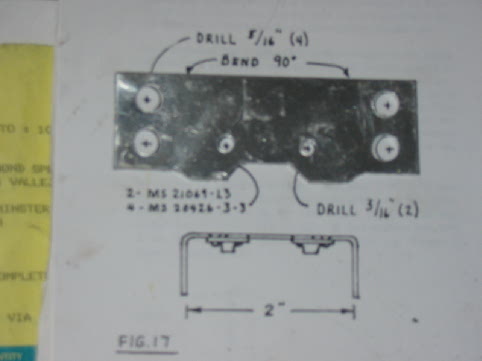
| 10/24/04 Cut the fuel valve brace to shape and drilled the holes. |
 |
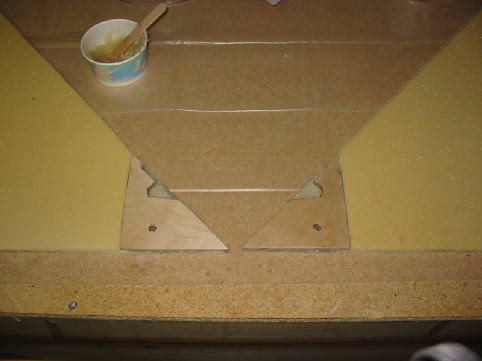
| 10/25/04 Putting the fuel valve supports in the keel sides. |
 |
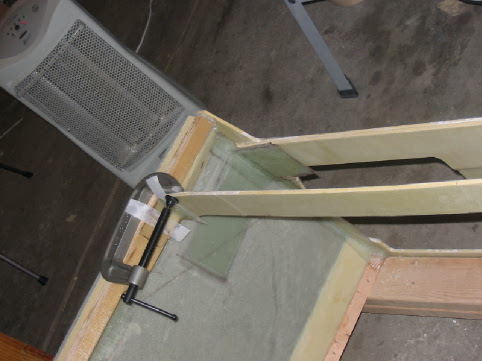
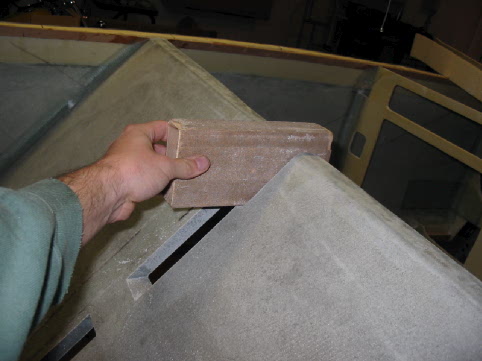
| 10/27/04 I used a block of wood with sandpaper wrapped around it to adjust the spacing on the front seat for the heater duct. |
 |
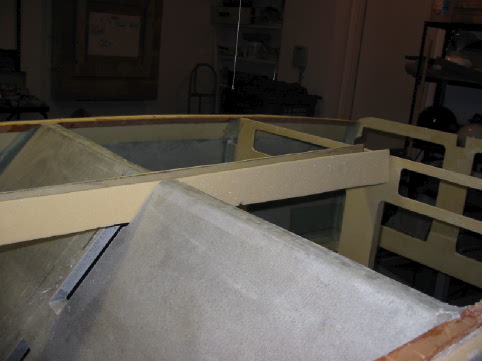
| 10/27/04 The duct now fits nicely in place. |
 |
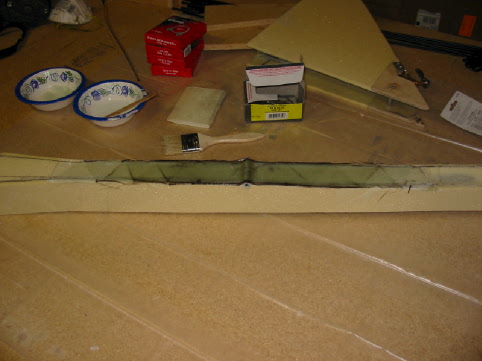
| 10/27/04 The 7-plies of UNI on top of the duct. |
 |
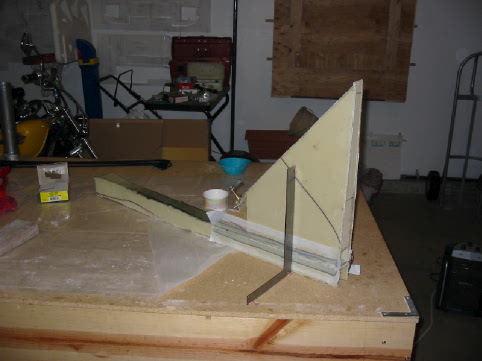
| 10/27/04 The completed center keel, drying. |
 |
| Step 3. Contouring and Installing the Fuselage Bottom | |
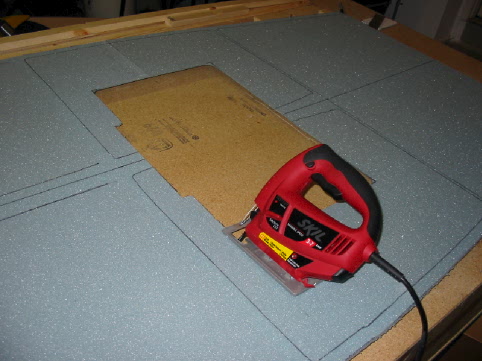
| 11/26/04 I used a jig saw with a 45-deg angle to cut the landing brake cutout. Uh-oh. I realized after the fact that in a dyslexic moment I cut the brake in the wrong place! Doh! Read those plans, folks. Make sure you know what you're doing. This mistake was easy enough to correct, but next time it could be more serious. Read, re-read, and then check it again. Ugh. If you don't have time to do it right the first time, you don't have time to re-do it later. The problem I had was that I had oriented the bottom one way, and the plans had it the other. The text started by referencing the distance from the front of the front seat back, so I measured fore instead of aft. I didn't notice until I was working on the spacers (the following page in the plans), and there's a full-size picture of the bottom with the brake to the aft. |
 |
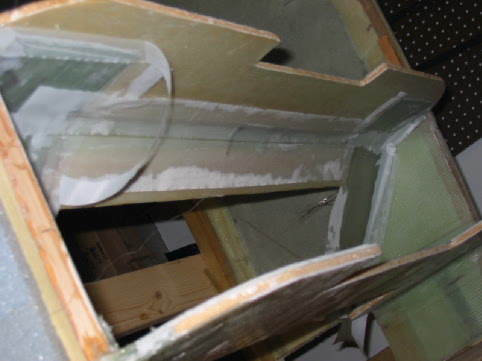
| 11/26/04 The whole fuselage bottom with the landing brake in the wrong place. I simply 5ME'd the wrong cutout back into place, and cut out the brake again, in the right place. The wrong cutout has become known as the "Secondary Landing Brake." |
 |
| 11/26/04 I was having a hard time visualizing how to cut out the foam spacers, so I cut out templates from masonite first. I'd rather mess up cutting masonite than mess up cutting foam. I calcuated the area for the spacers based on the templates, and came up with around 1,400 square inches. But a single sheet of 2'x4' foam is only 1,152 inches, so I was ~300 square inches short. (These are rough numbers; in reality, it was just under 330 in^2 that I was short). The templates helped me be certain about how to cut the foam with a minimum of waste. |
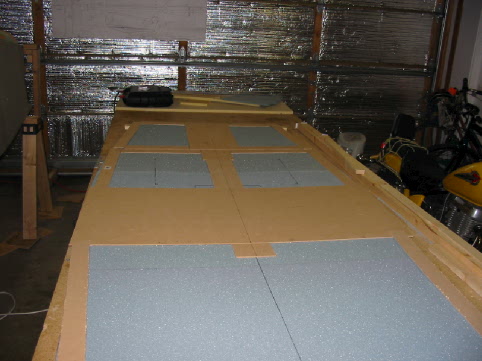 |
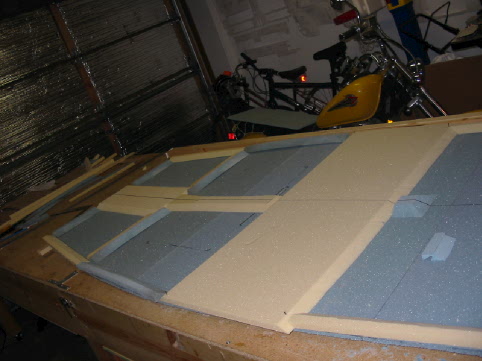
| 11/26/04 I was able to do all the spacers by using pieces of leftover foam from previous pieces. Save everything! These are the rough cuts. The blue pieces are old foam, the white pieces are from the single 2'x4' sheet. Do you see the mistake I made? |
 |
| 11/26/04 The spacers, with the 30-deg bevels added. I used a table saw for this. Way overkill for the foam, but it gave me super nice bevels. I had tried this earlier when doing the fuselage side bevels, but this time I had much better luck. See the mistake yet? |
 |
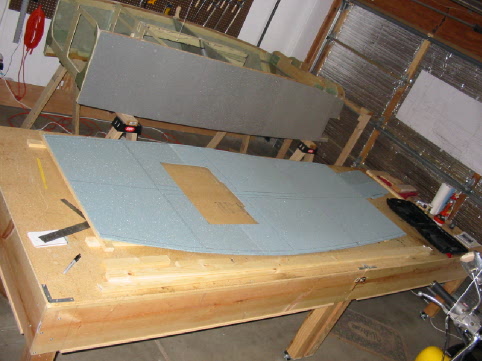
| 11/26/04 All the spacers in place. This picture looks deceiving, and in fact I had the same impression looking at the picture in the plans and on other builders' websites. This shape is concave, not convex. What I mean is, the fore and aft edges are higher than the middle. But looking at the picture, it sure looks like the center is raised and the fore/aft edges are lower. I guess it's just an optical illusion from the spacers and the curve of the sides, or something. Rest assured, it's shaped correctly and fits the fuselage sides. The mistake is pretty obvious at this point, now that the bevels are cut. The pieces don't overlap. I'm going to have to cut little corner spacers to fill in the gaps. *sigh* |
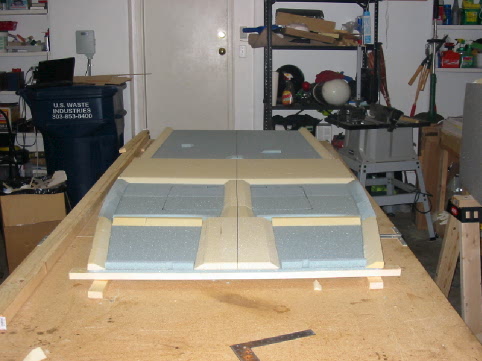 |
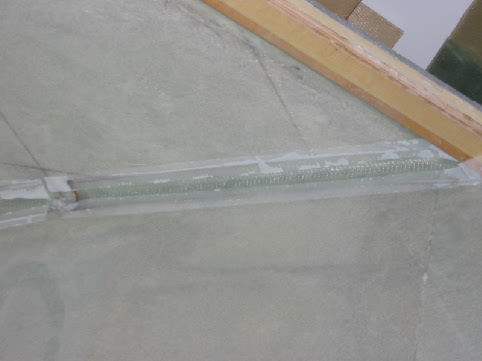
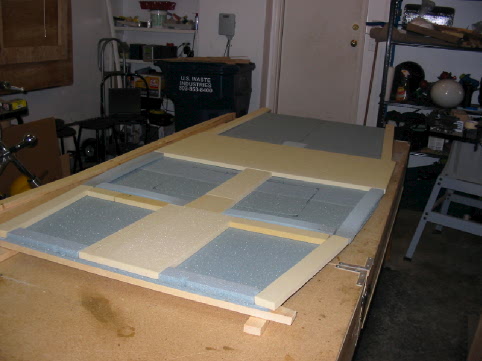
| 11/26/04 Spacers micro'd in place and drying. You can see the little corners in place that I had to cut. It took a lot of time, and every little scrap of foam I had. You can also see the secondary landing brake pretty clearly here. Heh. |
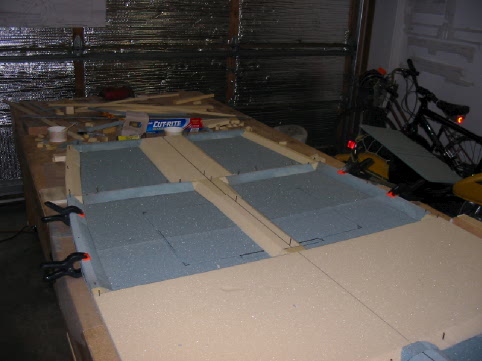 |
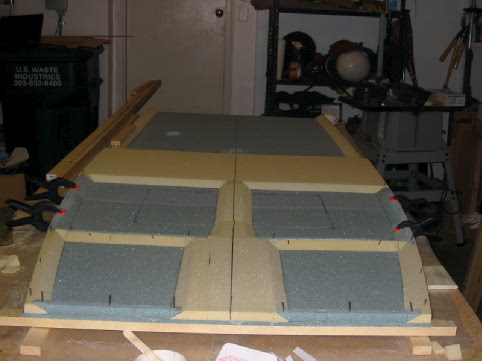
| 11/26/04 Another shot of the spacers drying in place. Note that the gaps between the spacers (where the spacers meet) have been filled in. A more careful builder may have realized this before doing the cutting and have cut the spacers to the correct length, but I realized the mistake only afterwards. It was simple, but time-consuming, to cut small foam corners to fit the gaps. This is the kind of thing that would be helpful to have in the FAQ. I hope describing my mistake here helps some future builder... |
 |
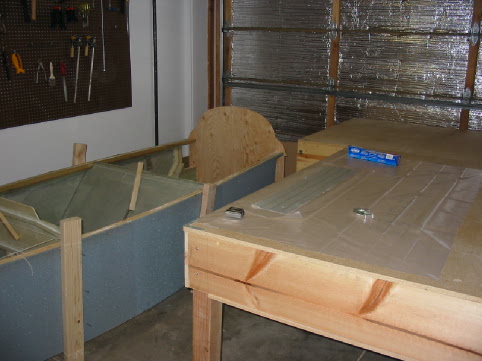
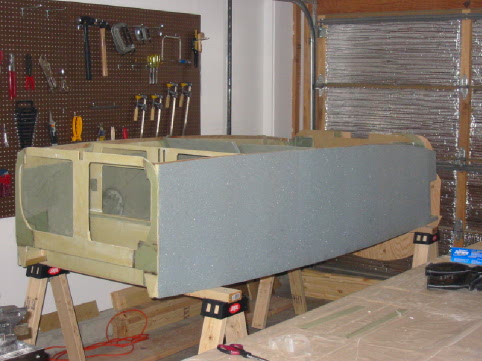
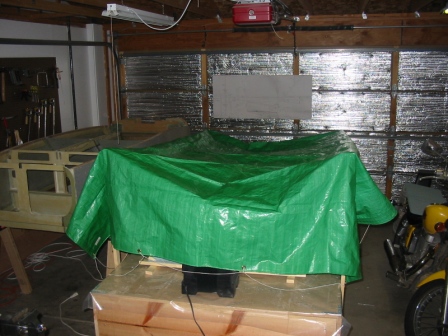
| The bottom of the fuselage is drying. As it's the middle of winter here in Colorado the garage can get a little cold. The tarp has a heater under it, which turns the work table into a kind of oven. |
 |
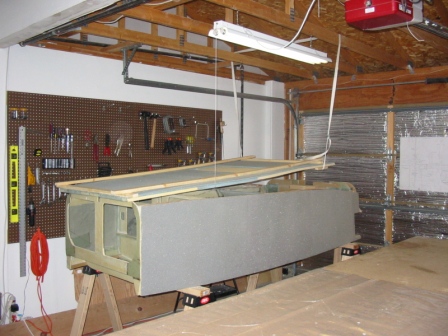
| After the fuselage had dried it was time to flox it into position. I didn't have an assistant handy, so I had to improvise. I suspended one end of the bottom from the ceiling, applied the flox, and lowered it carefully into place. |
 |
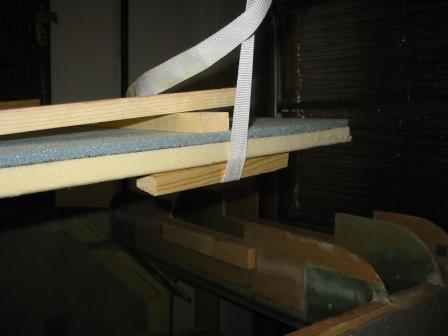
| In order to prevent the strap from damaging the spacer I used blocks of wood to distribute the pressure over a larger area. |
 |