| d'Armond's Home | |
| Klingon | |
| Cozy Mark IV |
|
| Linguistics | |
| FTS |
Cozy Mark IV : Chapter 10
Canard Construction
In this chapter you will construct the canard using the R1145MS airfoil, which should have no trim change in rain.
Pictures and commentary will go here as the work progresses. See also time and expenses related to this chapter.
- Step 1: Trimming the foam blocks and cutting the cores
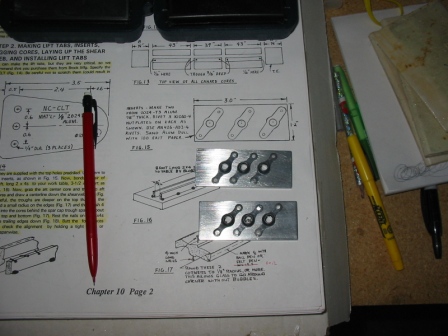
- Step 2: Making lift tabs, inserts, jigging cores, laying up the shear web, and installing lift tabs
- Step 3: Jigging and Bonding the canard sections together
- Step 4: Spar cap layup
- Step 5: Applying the bottom skin
- Step 6: Installing hard foam blocks for elevator hinges, the upper spar cap, and the upper skin
| Step 1: Trimming the foam blocks and cutting the cores | |
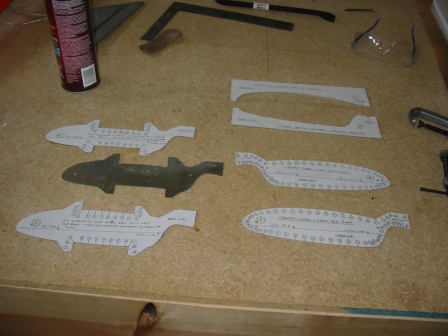
| 8/13/05 - 8/14/05 Templates Used flashing as the material for the templates. Made a copy of M-17, and glued it to flashing with spray adhesive. Then I made rough cuts with a jig saw, and fine cuts on the band saw. Sanded, etc. |
 |
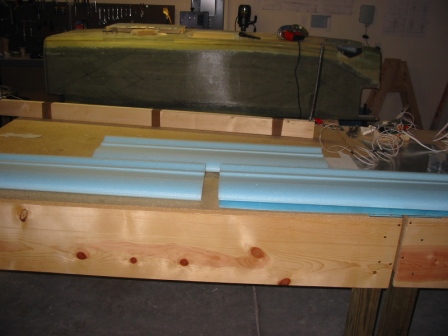
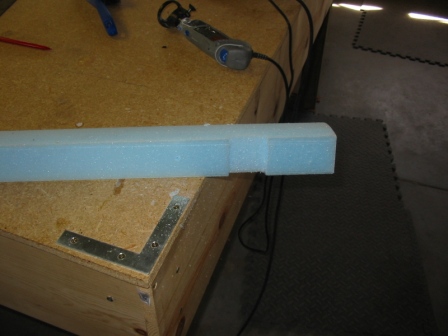
| 8/14/05 Canard Yeah, the canard is cut! It's the end of a long day, but it was very rewarding. |
 |
| Step 2: Making lift tabs, inserts, jigging cores, laying up the shear web, and installing lift tabs | |
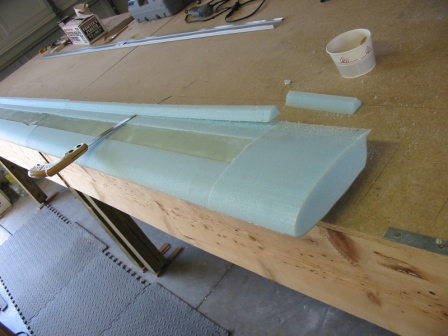
| 9/5/05 Canard The foam for one of the canard cores is off a bit. This is either because I made a mistake when cutting it, it deformed in the heat of my garage (summer in Florida), or this was an existing edge that was off already. I'm not sure which, but I'm inclined to think it was the heat. |
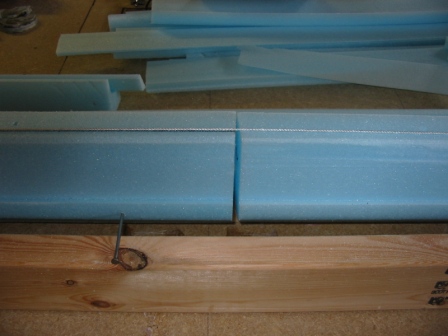 |
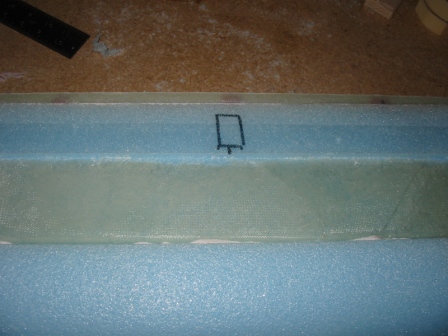
| 9/5/05 Canard A closer look at the gap. |
 |
| 9/11/05 Lift tab inserts |
 |
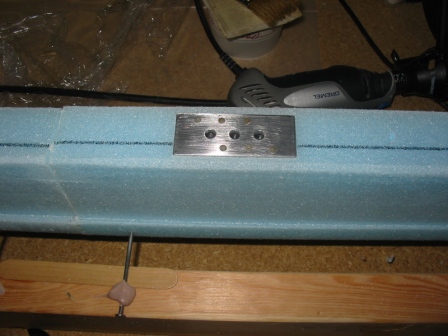
| 9/11/05 Lift tab inserts Dremeled depression in canard for inserts. |
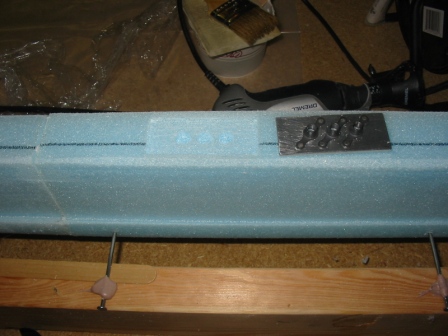 |
| 9/11/05 Lift tab inserts They fit nicely in the depressions. |
 |
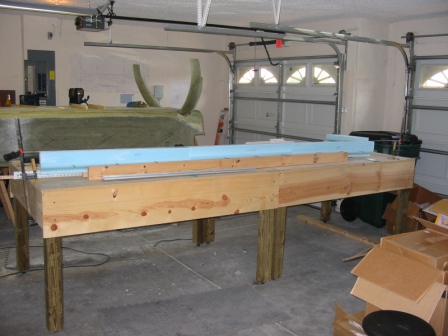
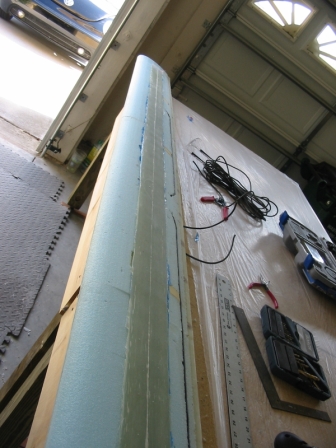
| 9/3/05 Canard Canard is positioned on the work table for the shear web layups. |
 |
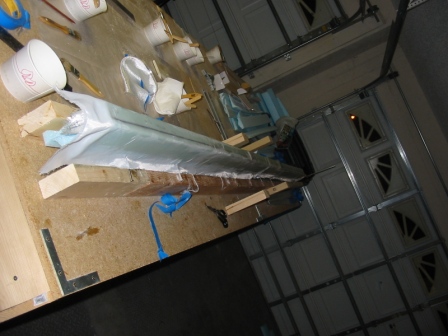
| 9/18/05 Shear web layup End of a long day. The shear web layups are done, and the whole thing is drying with peel ply over everything. |
 |
| Step 3: Jigging and Bonding the canard sections together | |
| 9/24/05 Attaching LE Cutting the trough in the center LE piece, so it will fit over the lift tabs. I used the Dremel for this. |
 |
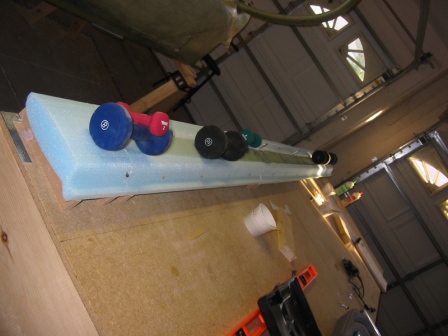
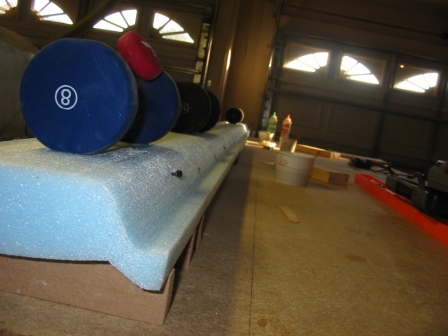
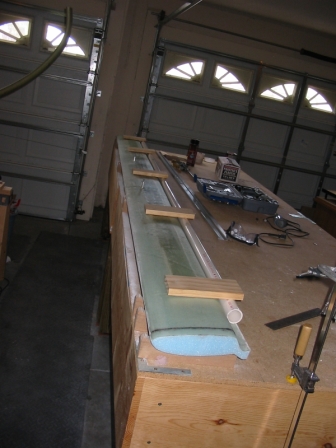
| 9/24/05 Bonding sections together Everything's micro'd in place, and I'm using the weights to maintain alignment. |
 |
| 9/24/05 Alignment Very good alignment, which can be seen pretty well here. |
 |
| Step 4: Spar cap layup | |
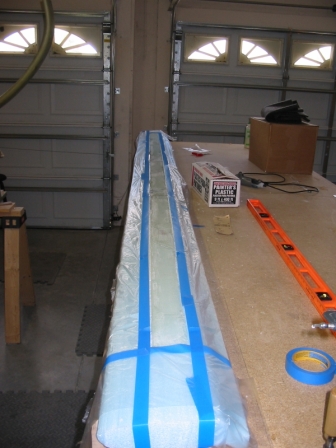
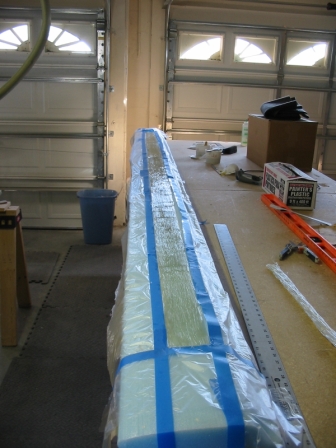
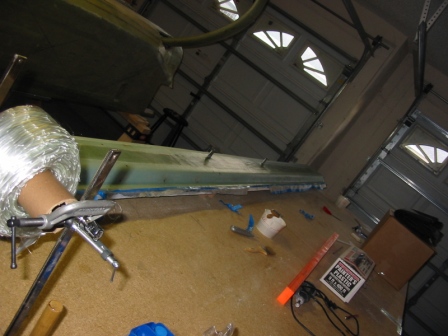
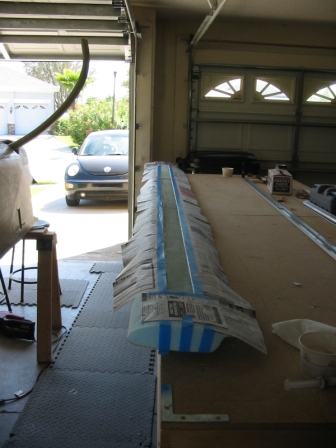
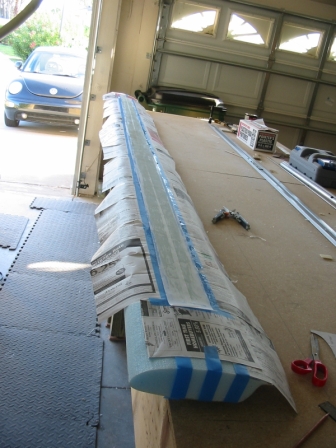
| 10/1/05 Spar cap layup Taped off the canard with plastic. |
 |
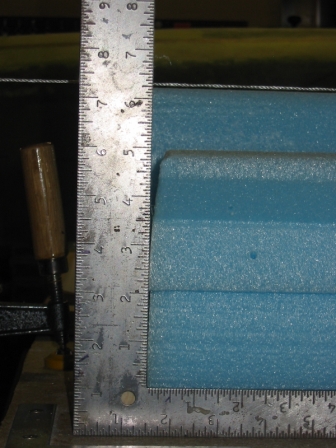
| 10/1/05 Spar cap layup Making sure the layup is the correct depth. |
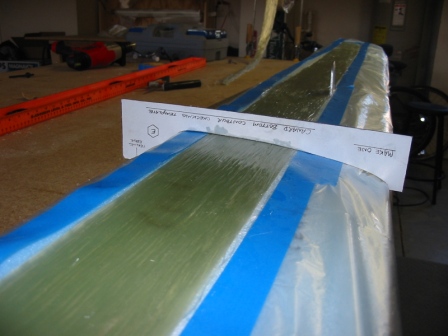 |
| 10/1/05 Spar cap layup The completed layup, before peel ply. |
 |
| Step 5: Applying the bottom skin | |
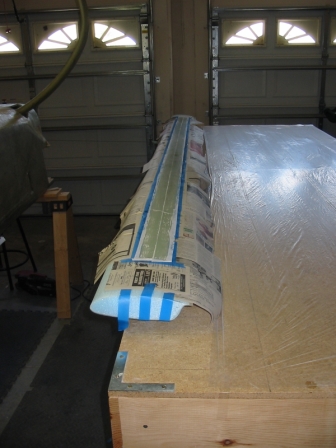
| Applying the bottom skin. |
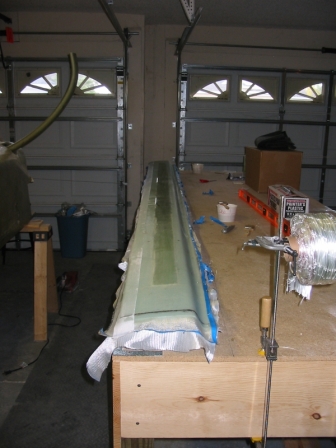 |
| Applying the bottom skin. |
 |
| Step 6: Installing hard foam blocks for elevator hinges, the upper spar cap, and the upper skin | |
| 4/1/06 Upper spar cap Getting ready to bondo blocks in place. |
 |
| 4/1/06 Upper spar cap Cutting fishtail off. |
 |
| 4/1/06 Preparing to drill out foam for foam inserts. |
 |
| 4/2/06 Top spar cap layup. |
 |
| 4/2/06 Peel-ply over top spar cap layup. |
 |
| 4/2/06 ...another shot, calling it a day. |
 |
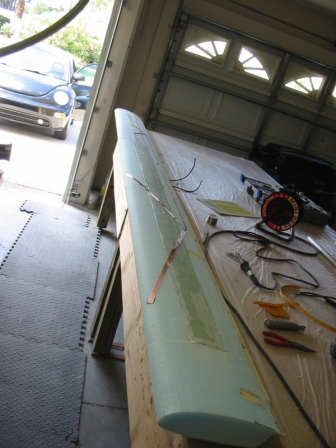
| 4/23/06 Before doing the top skin, I wanted to put a NAV and glidescope antenna on the canard. Dug trough with dremel, laid down coax with baluns, and prepared to install the antennas. |
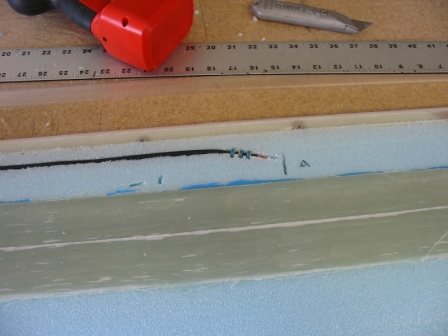 |
| 4/23/06 |
 |
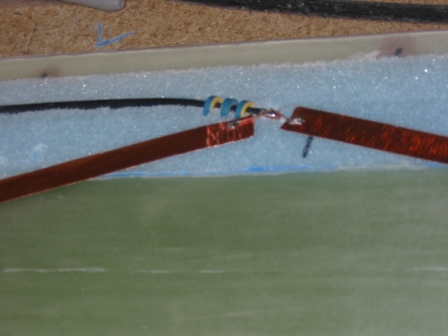
| 4/28/06 Sanded top spar cap to conform to the template, and then installed the antennas. |
 |
| 4/28/06 Close-up of the soldered antennas. |
 |