| d'Armond's Home | |
| Klingon | |
| Cozy Mark IV |
|
| Linguistics | |
| FTS |
Cozy Mark IV : Chapter 11
Elevator Construction
In this chapter you will manufacture and mount the elevators on the canard.
Pictures and commentary will go here as the work progresses. See also time and expenses related to this chapter.
- Step 1: Cutting foam cores and bonding to torque tubes
- Step 2: Installation of the Bottom Skin
- Step 3: Installation of the Top Skin
- Step 4: Installing the NC-6 Inserts and the NC-3 Hinges in the Canard
- Step 5: Checking Elevator Travel and Installing Tip Fairings
- Step 6: Installing the Pitch Trim Belcrank and the Elevator Mass Balance weights
| Step 1: Cutting foam cores and bonding to torque tubes | |
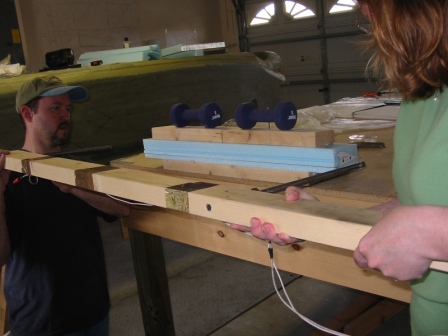
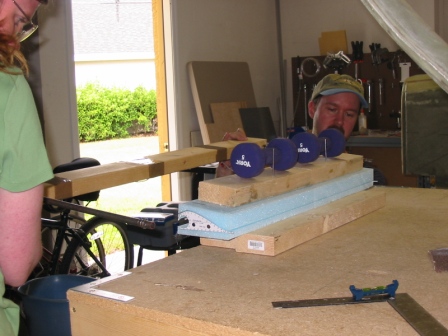
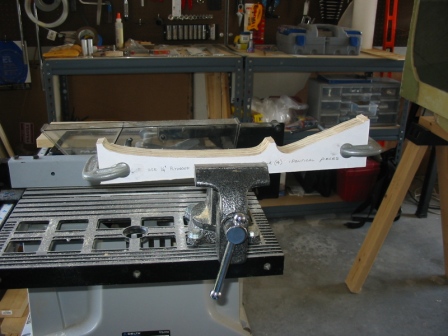
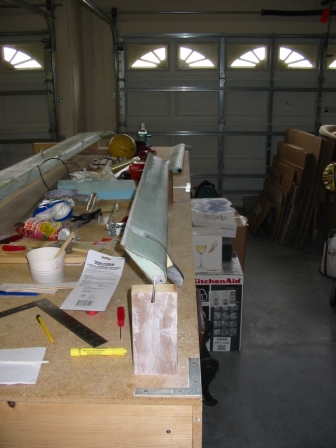
| 4/30/06 Cut the elevator templates. I was worried about these because of the sharp curve, but it turned out to be really easy. Sanded edges for a really smooth finish, so as not to cause snags with the hotwire. |
 |
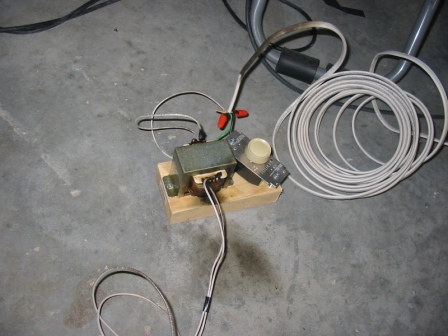
| 4/30/06 While we were cutting the elevator cores, the hot wire saw control box burst into flames! It was quite exciting! I was too focused on putting the fire out before it spread to the rest of my house to get the camera and take a picture, but here's a picture of the melted unit after we put the fire out. (It was not as bad as all that. Yes there were flames, but it was very small and it wasn't going anywhere.) |
 |
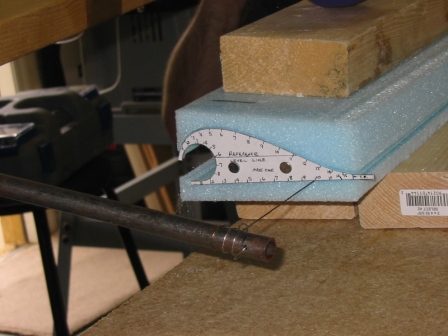
| 4/30/06 In a pinch I made the "poor-man's" hotwire saw as described in the plans (2 12-v batteries connected to a board of nails/wire), and we finished up the cores. I wanted to finish these cuts! |
 |
| 4/30/06 Amy helped with the hotwire while Alec took some pictures. |
 |
| 4/30/06 one-and-two-and... |
 |
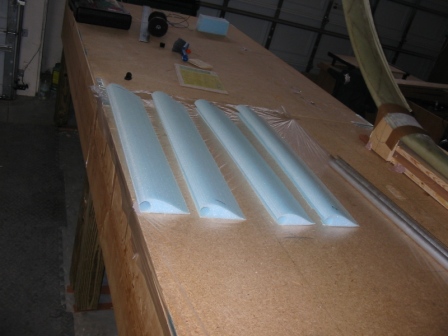
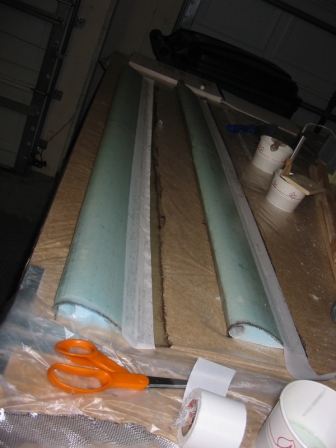
| 4/30/06 The finished cores! |
 |
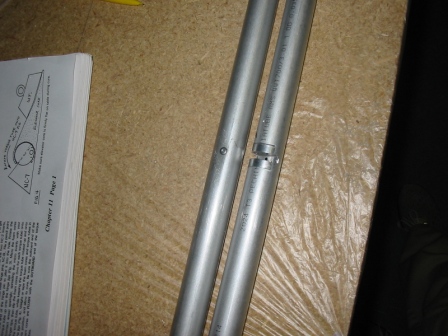
| 5/1/06 NC-2 inserts installed in the torque tubes. |
 |
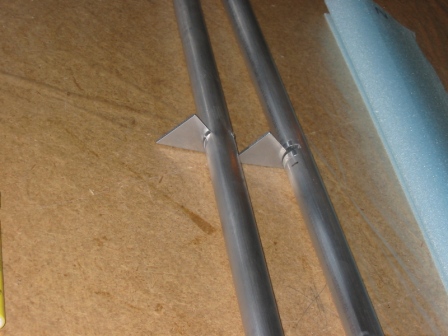
| 5/2/06 NC-7 jigs holding torque tubes in position. |
 |
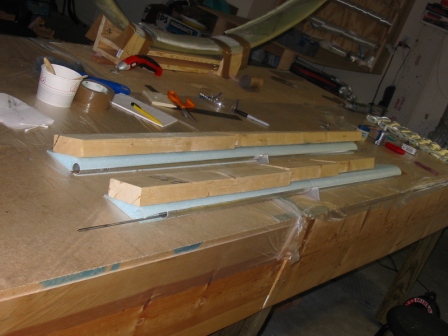
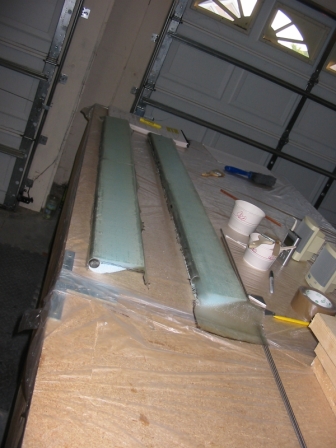
| 5/2/06 Torque tubes are micro'd in place in the elevator cores, drying. |
 |
| 5/2/06 Waiting for the epoxy to dry... |
 |
| Step 2: Installation of the Bottom Skin | |
| 5/3/06 Bottom skin is curing in place. I wet this out on the table and squeegeed it very dry, and then transferred it to the elevator. |
 |
| Step 3: Installation of the Top Skin | |
| 5/4/06 Top skin curing in place. Again, wet out on table and transferred. This lets me get the glass very dry. |
 |
| Step 4: Installing the NC-6 Inserts and the NC-3 Hinges in the Canard | |
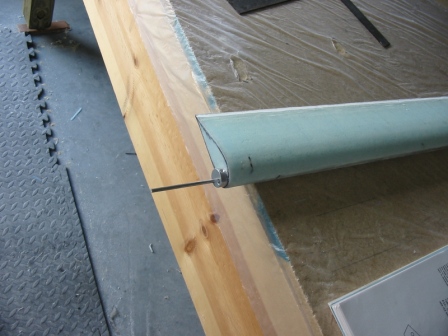
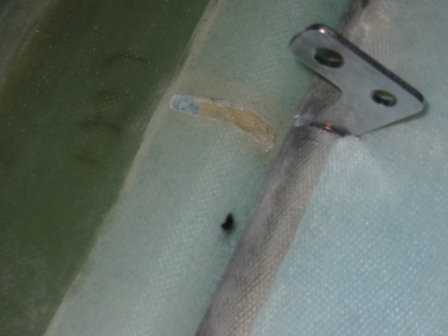
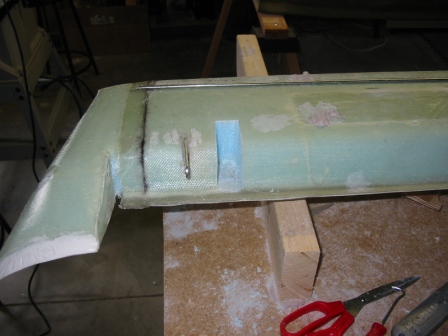
| 5/6/06 After trimming the BID on the end I prepared to the install NC-6 insert. I measured about 3 millimeters in from the edge, and eyeballed where to drill the hold for the rivet. |
 |
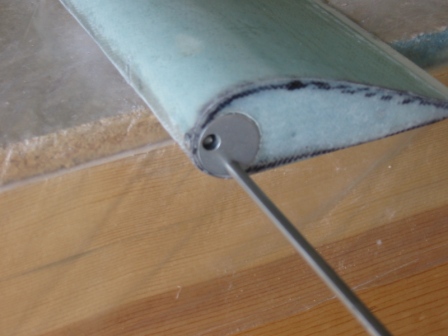
| 5/6/06 NC-6 riveted in place. |
 |
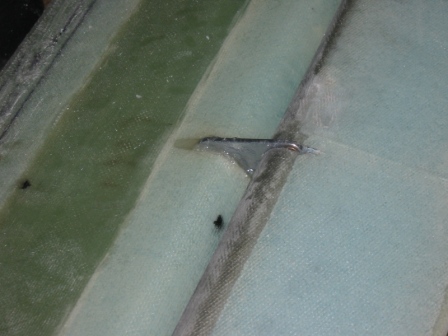
| 5/6/06 Doing the other side. You can see that the rivet is too long to fit, but if you push it in while you slowly crimp the rivet, it's no problem. |
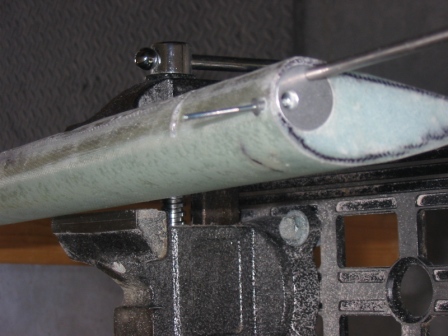 |
| 5/6/06 Both NC-6 inserts in place. Also drilled the holes for the threaded hole. |
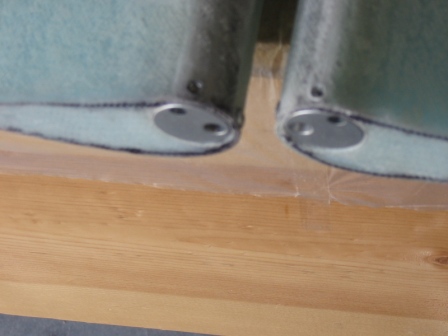 |
| 5/6/06 The assembled spool. |
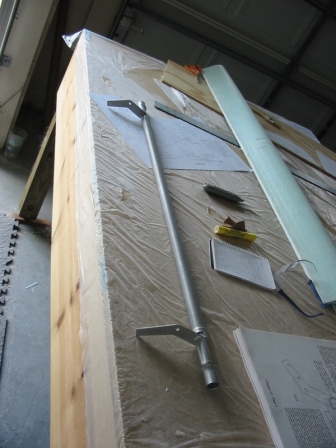 |
| 5/6/06 Preparing to bolt the spool to the torque tubes. |
 |
| 5/6/06 The 4 L jigs, perfectly matched. |
 |
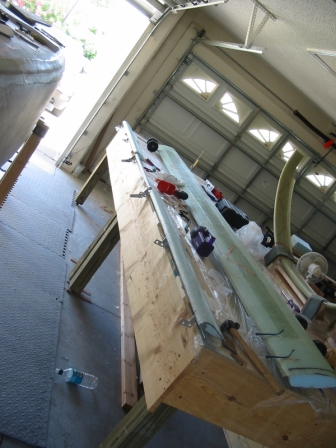
| 5/6/06 Preparing to attach the L jigs to the canard. |
 |
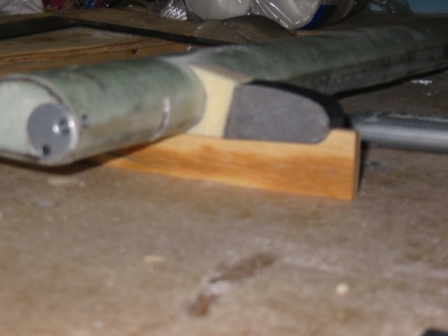
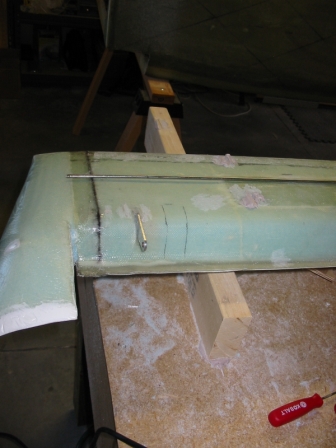
| 5/6/06 I used a dremel, power drill and screwdriver to dig out these channels. So, is this really all that's holding this elevator to the canard, is a bit of flox bonded to foam? Please tell me there's something more coming. This doesn't seem very secure to me! |
 |
| 5/6/06 Hinge floxed in place. |
 |
| Step 5: Checking Elevator Travel and Installing Tip Fairings | |
| Step 6: Installing the Pitch Trim Belcrank and the Elevator Mass Balance weights | |
| 8/25/06 Foam spacer and lead weight CS-10 in place. |
 |
| 8/26/06 Yup, it's LE-heavy. |
 |
| 8/26/06 Tracing for cutting out space for weights. |
 |
| 8/26/06 And the hole afterwards. |
 |
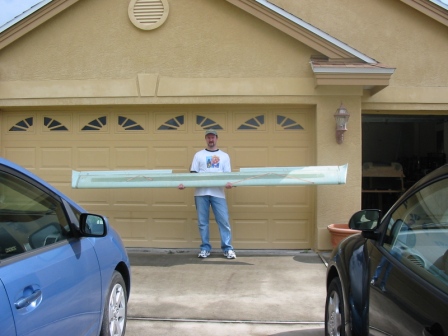
| 8/27/06 The completed canard! I'm ready to go for a test flight! |
 |